Today I reviewed all the remaining NURB tutorials in order to complete the NURBS challenge. Before I did all these tutorials and the challenge I hated NURBs and didnt really want anything to do with them but this work has shown me they can actually be very helpful.
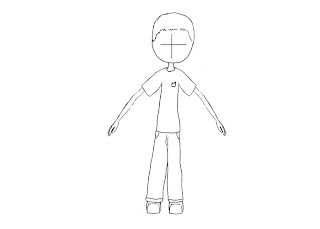
The first thing I did was set up the reference images and place them on their own layer so I could quickly show/hide them.
Then I began using different NURB tools and techniques that I had previously learned via all the tutorials in order to create my character. While doing this I faced a few issues, as working with NURBs is extremely different to working with polygons. Some of the tools I attempted to use that would work for polygons didn't work for NURBs. One of which was the technique I use to duplicate and then scale in order to copy and paste the arm parts on the other side. With polygons this can be done easily by combining the objects and then detaching the object once they have been placed in position. However when this is attempted with NURBs it is harder to combine them, meaning when a selection of them are rotated or scaled simultaneously they all move individuality around their center points rather than as one object. I'm sure there is a way to combine them that I still need to learn but for now I moved and rotated the objects one by one. My point is that, once you start working with NURBs its like working in a whole new application as your knowledge from polygon editing is not effectively cross compatible with NURBS. Because of this point I'm tempted to avoid using them in my final character due to the time restriction and how much new information I would be required to remember simultaneously.
Here are some images of my final character's front and side views.


No comments:
Post a Comment